Tuesday, February 20, 2018

Review - The Weber iGrill2 Bluetooth Connected Thermometer


I am a “gadget 
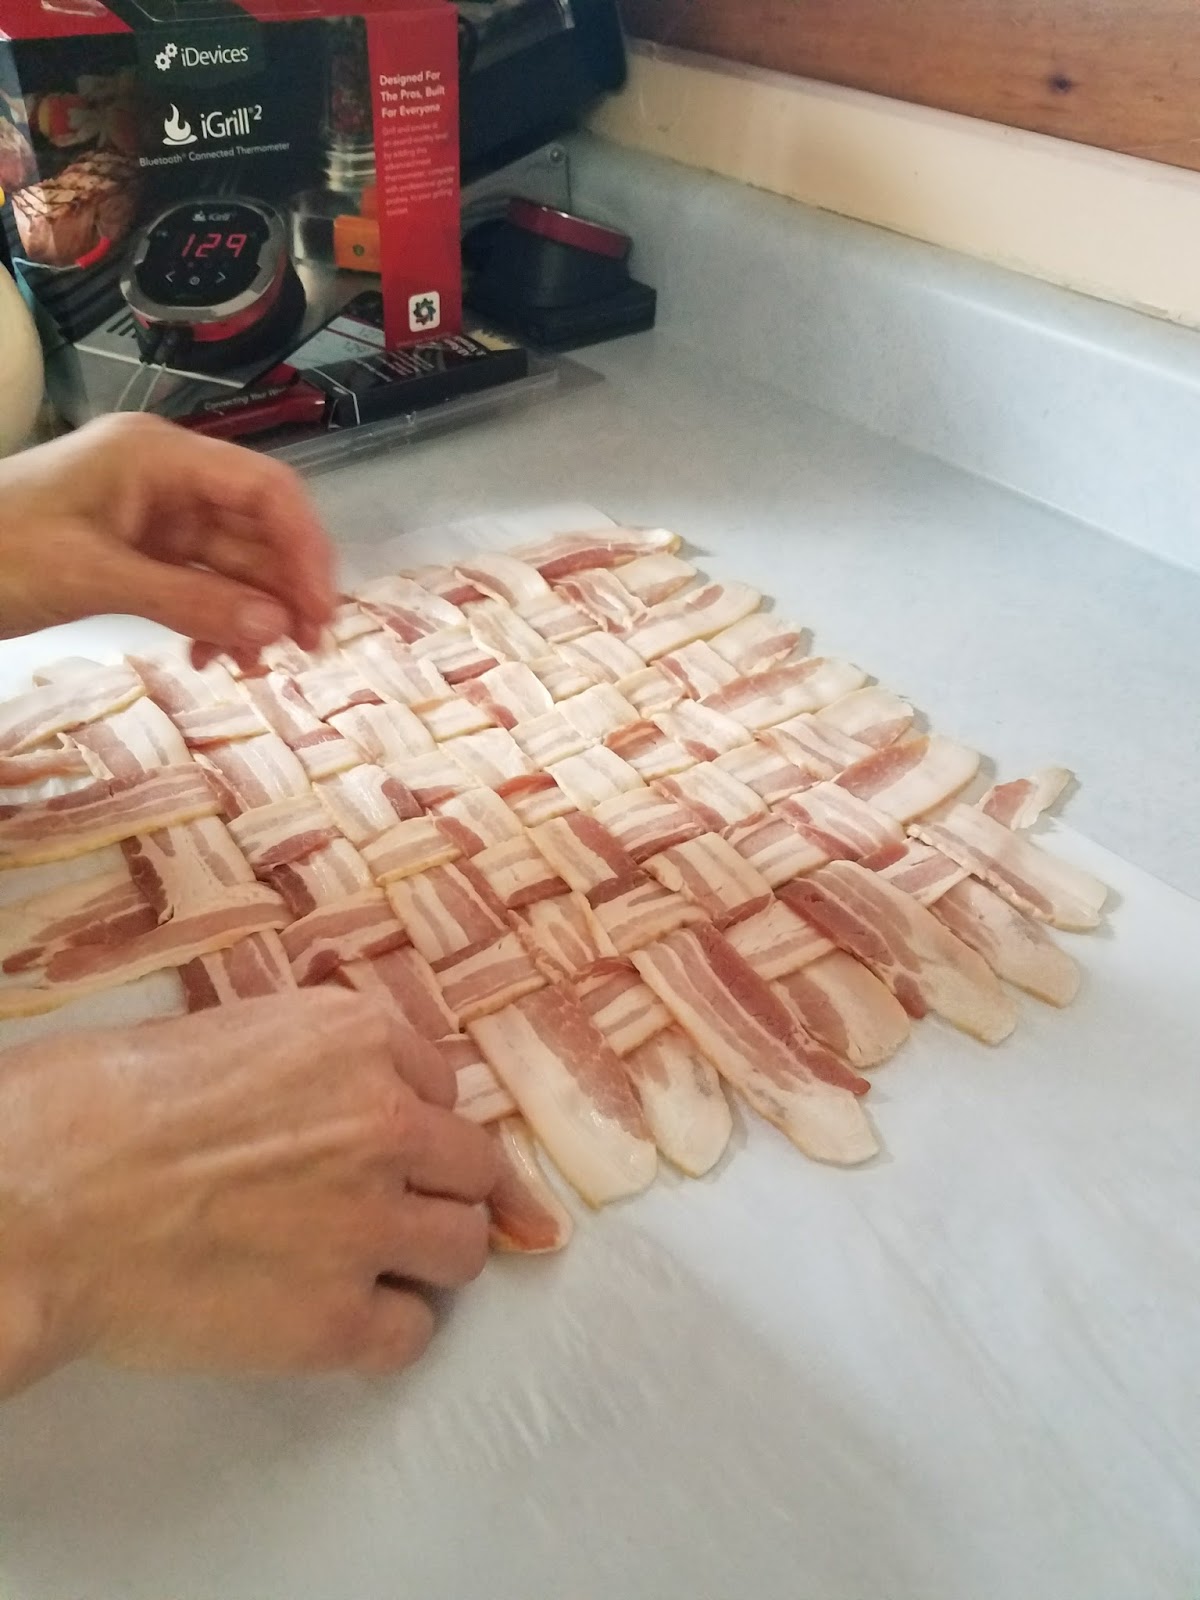
guy”, so it is no surprise why I got so excited when my son handed me the Weber iGrill2 Bluetooth Connected Thermometer. One gift to cover two passions -gadgets and BBQ – the kid has been paying attention!

Lots of seasoned BBQers have honed their skills to the point where they can test done-ness by touch and appearance. I have not attained that level of BBQ skill yet, so I rely on thermometers and temperature probes.

Now, on their packaging Weber tells me that with the iGrill2 I’ll be able “grill and smoke at an award-winning level”. I can tell you with complete confidence, if your BBQ game isn’t already pretty strong, a thermometer is not going to take it to an award winning level. However, for most people, an accurate and reliable thermometer is very helpful in produce quality BBQ. Especially one that is not tied to the Grill/Smoker. The iGrill2 fits the bill.

                                                                  Here's what you get
        

The iGrill2 comes with a base station capable of handling 4 temperature probes simultaneously. With the click of the right or left arrow on the base station you can switch between all four probes, allowing you to cook four different products that the same time. Since I’m not BBQ’ing enough to feed an army in most cases, I just use two probes for my cooks. One for the meat and one for the ambient temperature of the smoker/grill. Each probe is color coded to coincide with the probe channels on the Weber iGrill app. The app allows you to choose the probe for ambient temperature.

                                                            The Android App-Home screen


The iGrill2 comes with 2 probes included, but if you need more, they’re fairly inexpensive (i’ve seen them for about $15-$20 for 2) Each probe is high heat resistant and Weber claims they’re good up to 620F. I have not tested that claim, but I have maintained temps of 450F and had no problems. The base station is powered by 2 AA batteries (included). It’s also magnetized so it can be attached directly to your smoker/grill. I believe the rubber base is heat resistant. I haven’t read that or been told it, but I’ve attached mine to the side of my Ugly Drum Smoker (which probably gets up to 250F or more.) and I’ve experienced no melting rubber or deformities. I can say, with confidence, that up to about 250F, you’re safe. Over that and you may have melted pile of plastic – I don’t know and I’m not willing to test it. When in doubt, just set the base on a shelf. The probe leads are four feet long and come with nifty little plastic doohickeys that make it easy to wrap and store the probes neatly when you’re done

                                        iGrill probe and nifty plastic doohickey to wrap the probe lead


The Weber iGrill app that connects to your iGrill2 is very simple to use. It connects easily, much like any other Bluetooth connected device. I’ll provide a list of connectable devices below. Once it’s connected and paired, the app allows a variety of ways to monitor your cook. Across the bottom of the app, you’ll find “Temperature” and “Timers”. The iGrill2 allows you to set reminders at their own “standard” temperatures. For example, a whole Chicken is well done at 165F, so choosing “Chicken, Whole” will automatically set the alarm for 165F. Alternatively, if you’d rather have your chicken at 160F, you can set the temperature alarm to your own custom temps.

                          
 All four probes in one place! 


Set up your own timer            View your cook in a graph                                                    


Under the Temperature tab, the app will display all four temperature probes simultaneously for a quick look. Tapping on the active probe gives you access to that specific probe. If you’re a color coordinated kinda guy or gal, the probes include colored probe indicators to allow you to easily differentiate your probes It also allows the option to select the probe as a “done-ness” probe or as an ambient temperature probe to monitor and maintain the temperature of your grill/smoker. The app also allows you to view your temperatures in a graph, showing the rise and fall of your temperatures over time. This gives you a very good idea of how to gauge things like the dreaded “stall”. It also allows you to upload or share screenshots of your temps to social media or just to save for your own analysis later on. The app also alerts you when the base units batteries are getting low. 

I’ve been using the Weber iGrill2 for a while now and I love it. I’ve tested the probes repeatedly and they continue to maintain accurate readings  over time (I test with both boiling water and ice water, because I’m just that obsessive.). Since my Smartphone is basically attached to the palm of my hand, it is super convenient to be able to whip it out while I’m doing other tasks and check on the progress of my prized BBQ.

The description states that the Bluetooth connectivity can reach up to 150 feet. I’ve not tested this with a measuring tape, but I wouldn’t argue with a that statement. I’d have to say my only real complaint about the Igrill2 is, although it’s far less than 150 feet between my recliner and smoker (maybe about 50 feet), the Bluetooth does not connect very well through walls & windows. I am sure that is not the fault of Weber, but rather just the nature of Bluetooth connectivity – it needs a direct line and doesn’t play well with obstructions. 

All in all, the Weber iGrill2 has definitely been one of the better gadgets I’ve gotten over the last few years. It’s used almost every weekend and has preformed admirably throughout. I use mine regularly in the smoker, grill and the conventional oven in my kitchen. I have had to replace one probe, but I’m pretty sure that was my fault for not being more gentle.

The iGrill2 comes with the following:

1 Base station
2 Probes
2 Probe wraps (doohickeys!)
2 Colored probe indicators
2 AA batteries
1 extra magnet

It’s compatible with the following devices:

iPhone 4S and later
iPad 3rd Generation and later
iPad mini and later
iPod Touch 5th generation and later
(requires iOS 7+)

Android 4.3+ (w/ Bluetooth technology)

The Weber iGrill app is available for free in both the Apple App Store or Google Play store.

Unfortunately, I don’t have any experience with comparable devices so I can’t tell you if it’s better than this unit or that unit, but I can tell you the device performs as described and has been a dependable addition to my BBQ Toolkit!


Sunday, February 18, 2018

Pulling the bone

Beef Button Ribs ( "Riblets", for the Applebees crowd)


I'm pleasantly surprised with the Beef Button Ribs we picked up at Super Wally World a few weeks ago. They had been sitting in the freezer for a while and I decided, since the wife wanted a pulled pork dinner, I'd throw on the ribs too.

We woke up to 2-3 inches of fresh snow this morning, so we had to go out and do a little shoveling before firing up the Ugly Drum Smoker.


Once we got the driveway cleared I loaded up the fire basket and lit a chimney full of charcoal. I'm using Hickory for this cook.  


We got the ribs and pork butt on by 9:30AM.  I always misjudge time with Pork Butts and we usually end up eating quite late. As I write this, I am hoping I got it right this time. It' s 2:00 PM and we're at 164F. I figure I'm in a stall right now and will wait until 3PM to see if I'm right. If so, I'll wrap the butt. If there' s no stall, I'll just keep trucking till we hit 205F.

Anyway, back to the ribs. I rubbed them with a combo of salt, black pepper, garlic powder and onion powder and let them rest for a couple of hours in the fridge.  At about 9:30 AM my UDS temps were around 250F-275F, so I threw on the butt and the ribs. I gave up fighting the UDS and just let it go at around 260F for about 3 hours. I took them off at the 3 hour mark and wrapped them in foil with a couple pats of butter on top for moisture. I would normally have splashed in some Apple juice but I forgot to buy some. 


After about 45 minutes in foil I pulled the ribs and removed the foil. Normally I would put them back on the smoker to dry out a bit from the steam in the foil, but with no real liquid  this time there was very little steam and the ribs came out with their bark intact. 

The plan was to have them tomorrow night for dinner, but after we each tried one, the rest went down the hatch pretty quickly thereafter.  
I wasn't holding out much hope for these Button Ribs, but like I said above, I was pleasantly surprised.  We'll definitely try them again!


Saturday, February 17, 2018

Sticky Asian Style Chicken Wings (or ribs!)


Ingredients


1 lb chicken wings & drumettes
4 cloves garlic
Apricot preserves jar
Hoisin sauce 1/4 cup
1/2 cup honey
1/4 c soy sauce
sesame oil 1 tbsp
1 tbsp 5 spice
1 lemon


Combine all ingredients and add liquid to 1 gallon plastic zip bag. Reserve a 1/4 cup to use as a glaze at the end of the cook. Massage wings to coat them all and refrigerate for at least 4 hours (we prefer overnight).
Cook the wings at 275F until they are brown and slightly charred, maybe an hour. At that point you can brush on a coat of the sauce you set aside earlier. Let the wings go for about 15 minutes between saucing, to allow it to carmalize. I usually sauce only once or twice. Once the sauce has caramelized, remove from the heat and enjoy!

BONUS! -this marinade also works wonderfully with ribs too! If you try it with ribs, cut the ribs first and then cook them individually. Also, you'll want to cook them at a lower temp (225F-250F) and for more time (probably 2-3 hours). Still worth the effort!! Delicious!  


Bad picture- great ribs!!

Basic Pork Dry Rub


Basic Pork Rub

1/4 cup Paprika
1/8 cup Fresh Ground Black Pepper
1-2 tablespoons Garlic Powder 
1-2 tablespoons Onion Powder
1 tablespoon or more Cayenne Pepper
1/4 cup Kosher Salt
1/4 cup Brown Sugar (or you can sub Turbinado Sugar )


BBQ Chicken Dry Rub


BBQ Chicken Rub

4 teaspoons chili powder
1 teaspoon paprika 
1 teaspoon sage
1 teaspoon dry mustard
teaspoon ground ginger
1 pinch cayenne pepper 


Big Ricky's BBQ Sauce


Big Ricky's BBQ Sauce (my take on Sweet Baby Ray's)

1 1/4 cups ketchup
1 cup dark brown sugar
1/4 cup molasses
1/4 cup pineapple juice
1/4 cup water
1 tablespoon hickory liquid smoke
2 1/2 teaspoons ground mustard
2 teaspoons paprika
1/2 teaspoon garlic powder
pinch cayenne pepper
1 1/2 teaspoons kosher salt
1 teaspoon black pepper
1 tablespoon corn starch dissolved in 1/8 cup cold water (optional)

Instructions

Whisk together all ingredients (except the corn starch in water) in a medium pot over medium heat. Bring to a boil, then reduce heat and simmer for 5 minutes, until sugar has dissolved. For a thicker sauce, add the corn starch and water mixture. Then simmer for up to 15 minutes, until desired thickness is reached. Keep in mind that it may thicken slightly more while cooling. Serve immediately or cover and store in the refrigerator.Once cooled, you may portion and freeze the sauce. Then thaw in the fridge and use as needed.

Sweet, Spicy & Smokey Dry Rub


Ingredients:

3/4 cup of light brown sugar
2 tablespoons of salt (I used Lo Salt reduced sodium alternative)
1 tablespoon of chipotle chili powder
1 tablespoon of smoked paprika
1 tablespoon of garlic powder
2 teaspoons of ground cumin
1/2 teaspoon of cayenne pepper
1/2 teaspoon thyme
1/2 teaspoon of ground cinnamon


Bacon Upside Down Jalapeno Corn Bread

Bacon upside down Jalapeno corn bread 
Author: Demetra Overton
Prep time:  20 mins Cook time:  30 mins Total time:  50 mins
Serves: 8-10 servings

You will need a 12 inch cast iron skillet
Ingredients
1½ cups of fine ground yellow or white cornmeal, I used yellow
1 cup all purpose flour
1 and ½ teaspoons kosher salt
⅓ cup white sugar
1 tablespoon baking powder
4 yyhhh6x,eggs
16 ounces of 2% cottage cheese
2 teaspoons fresh lemon juice
2-3 jalapeno peppers
½ an onion (about ⅓ of a cup chopped)
1 tablespoon canola or vegetable oil
8-9 strips of thick cut bacon
Instructions
Heat the oven to 400 degrees
Combine the cornmeal, flour, salt, baking powder and sugar in a bowl and stir well to combine
In another bowl beat the eggs and stir in the cottage cheese and lemon juice
Add the cottage cheese mixture to the cornmeal mixture and stir well, set this aside
Remove the seeds from the jalapeno and dice it (you should have about ¼ cup total)
Dice the onion
Saute the onion and jalapeno in the oil over medium heat until softened but not brown, about 5 minutes. Remove the jalapenos and onion from the skillet and stir it into the batter
Let the skillet cool off for about 10 minutes then lay the strips of bacon into the skillet
Cook the bacon over medium heat on the stove top for about 5 minutes
Turn off the heat and flip the bacon over keeping it in order
Pour the batter carefully over the bacon strips
Place the skillet into the oven and bake for 18- 20 minutes. A toothpick inserted into the center will come out clean
Let the cornbread rest for about 5 -10 minutes
Run a butter knife around the edge of the pan to make sure the cornbread isn't stuck
Place a platter on top of the skillet and, using pot holders, invert the cornbread onto the plate.


The best Smoked Mac & Cheese you will ever eat!

Smoked Mac & Cheese

If you want the absolute BEST Mac & Cheese you hav ever had, we recommend you give this recipie a try. It comes from Malcolm Reed and its fantastic!! Malcolm is the man when it comes to BBQ! Check out his page - How to BBQ Right


– 2 Tablespoons Butter
– 2 Tablespoons Flour
– 2 Cups Heavy Cream
– 1LB. Extra Sharp Cheddar (shredded)
– ½LB. Monterey Jack (shredded)
– 1-2 Tablespoons Hot Sauce
– 2 teaspoons All Purpose Seasoning
– 1 Cup Mayo
– 1 Cup Sour Cream
– 12oz Elbow Macaroni Noodles
– 1/2 Cup Panko
– 12oz Thin Sliced Bacon


Boil some water & cook the noodles.

Brown off your bacon. Drain it, chop it up and set it aside.

With the butter & flour make a nice peanut butter colored roux.

Once your roux is where you want it, add the heavy cream and cheeses. Add the cheese gradually and continue to stir it as it melts so you get a nice creamy cheese sauce. Add your hot sauce & seasoning (AP seasoning is simply equal parts Salt, pepper & granulated garlic) as you continue to stir.

Once your cheese has completely melted, remove from the heat and
fold in the sour cream and mayo. Once thats fully mixed, add your noodles and combine.

Once your mac & cheese is all mixed together, transfer it to your baking dish. We use disposible aluminum baking pans.

Here's the  magic.....mix the panko crumbs and bacon together and spread across the top of your mac & cheese. The fat in the  bacon acts like  butter would and makes a fantastic crust!

In the smoker it goes. We cooked it @ about 250F until the cheese was bubbling and the top was brown.  It took maybe an hour or so. If your doing it in a regular oven, I'd say 350F for maybe 40 minutes....your results may vary.

Once its done to your liking, remove from the oven/smoker and let it rest for 10 minutes or so. Enjoy!

(Topped & untopped - Trust me, topped is better!!)

Friday, February 16, 2018

The 3-2-1 Method aka The Texas Crutch


Around the BBQ Pit you'll hear lots of heated discussions about the 'Texas Crutch". You may have heard of it's more common name, the 3-2-1 Method. I'm not keen on the term "Crutch" because it implies that I am somehow unable to "walk" without assistance.  BBQ purists don't believe in this sort of "cheating". I disagree.  Listen, the object of the game is to produce a tender,juicy rack of ribs for your family and friends to enjoy. That's it. I don't think it really matters how you get there.

The same goes for your cooking medium. I am absolutely a die hard fan of the Old School for my BBQ- charcoal and wood only for me - but I don't begrudge anyone for choosing more reliable and less labor intensive equipment  that doesn't involve a charcoal or wood fire that needs constant tending You like gas or electric? You're a fan of the "pellet pooper"? More power to you! Just make good BBQ!

Regardless of the cooking medium, the key to a good rack of ribs is "low and slow". Ribs are, by nature, not tender cuts of meats and the low and slow process allows the connective tissue to break down and become tender.

If you've struggled with ribs not coming out tender or if you just want a guaranteed "fall off the bone" tender rack of ribs, give the 3-2-1 Method a try.

It's a simple process.  The numbers stand for hours of cook time.  3= three hours with the ribs directly on the grill. 2= two hours wrapped in foil and back on  the grill. 1= one hour with the ribs out of the foil and back on the grill.

Start out by trimming a rack of ribs and removing or scoring the membrane on the back.

Step two usually invokes another heated discussion among Pit Masters - using a "glue" to hold the rub to the meat. I used regular yellow mustard. Surprisingly enough, the mustard taste disappears during the cooking process, so you don't have to worry about your ribs tasting like a hot dog when they're done. I've rubbed my ribs without mustard and it works just fine too. Mustard -no mustard- you decide.

Once your rack of ribs is trimmed and ready for rub, get to rubbin'! Here's a link to a really tasty Sweet and Smokey Rub we use.  Some cooks rub just the top, while others coat the entire rack. I am in the latter camp.  Don't be shy with the rub.

Okay, ribs are trimmed and rubbed. I let mine rest in the fridge while I get my smoker fired up.  Bring your smoker up to your favorite low-n-slow temp. I run my smoker between 225 F and 250 F for ribs, regardless of whether I'm wrapping or not.  Once you get your smoker up to temp, throw on the ribs.


Keep your temps between 225 F and 250 F with a nice thin blue smoke. We use a variety of smoking woods. Personally, I am a big fan of hickory but, apple, pecan, oak and cherry are also excellent for ribs. The only wood you won't hear me recommending is Mesquite. Folks from the Southwest will probably give me grief, but Mesquite is far to strong a smoke flavor for me. I have sworn off Mesquite, but if that's your thing, be my guest and use Mesquite.

After adding the ribs to the smoker, set your timer for 3 hours and let her buck! Once you hit the three hour mark, pull the ribs from the smoker and completely wrap them in foil. You'll probably need two layers, but make sure it's nice and tightly wrapped. Before closing the foil wrapper, add some moisture. We've tried Cola, honey, butter (real and squeeze margarine), honey & butter, Doctor Pepper and Apple Juice.  Try your favorite. The flavor wont be affected much, but the moisture will help produce super tender ribs.  Be sure to not go over 1/4 cup. This part of the process is basically going to steam the ribs in the foil. More liquid=more steam=big mushy mess of meat. A 1/4 cup is plenty (or a good squeeze of margarine or 3-4 tablespoons of butter).  Once that's done, seal up the ribs in your foil and get them back on the smoker for another 2 hours.

This part of the cook is where I struggle. If this is your first try with the 3-2-1 Method, I’d suggest you just follow the plan and let the ribs cook for 2 hours in foil at 225-250F. You can be almost guaranteed that after 2 hours in the foil your ribs will be super tender. I’ve never had a rack come out NOT tender, doing it this way. The problem is that after two hours the ribs are usually “fall off the bone” tender. Most people would be thrilled with meat that tender. I’m trying for ribs that bite clean off the bone with just the slightest pull. There’s nothing worse than taking a bite of a rib and having the entire rib meat come off the bone with your bite. If you like “fall off the bone” , leave the ribs in there for 2 hours. If not, you’re going to need to do some trial and error until you find the right time. Personally, I find 1.5 hours is plenty, but your experience may vary.

When the 2 hours alarm goes off, remove the ribs from the smoker/grill and carefully remove the rack from the foil. I say carefully, because there’s a good amount of liquid in the foil and it’s HOT! Yes, I know this from experience. Be careful!

Remove the rack from the foil and right back onto your smoker/grill for one more hour at 225-250F.
After about 15 minutes you can brush on your favorite BBQ sauce. Here’s a recipe for my Big Ricky’s BBQ sauce , if you’re looking for a good, easily adjusted BBQ sauce recipe. I add another layer after about 30 minutes into the last hour. This last hour helps the BBQ sauce to set up and the ribs to develop a crust of sorts. Depending on how the ribs came out of the foil, a whole hour may not be necessary. Again, try it as described on your first run and then adjust the times, temps and sauce/no sauce to your liking.

Never mind the naysayers. Everybody wants tender, flavorful ribs, but that takes practice. The 3-2-1 Method will get you there every time, without fail.

*Note- the 3-2-1 Method is good for St. Louis Style Ribs. For Baby Back Ribs, shorten it to 2-2-1. 


Wednesday, February 14, 2018

A little twist on the classic sandwich - The Reuben Fatty


If you've followed any of our BBQ escapades, you'll be all to familiar with our obsession with the "Fatty". I spend probably more time than I should thinking about what kind of stuffings I can wrap around what kind of meats. One of my latest ideas is a pasta & sauce filled Italian Sausage fatty. If it's successful, I  think I'll name it "The Italian Stallion Fatty", but I digress.

Today's Fatty was born from my darling wife's love of corned beef. We gave it some careful consideration (maybe 10 minutes before I said "HECK YEAH, LETS DO IT!") and beat feet to the market for supplies.

I am not a man of details, I'm sad to say. So you'll forgive me when I tell you things like we used a "normal" corned beef. What are those? Two to three pounds? I don't know. I just grab it and go. Maybe that's why my wife doesn't let me shop by myself?

Anyway, back to the Reuben Fatty. We took a 2-3 lb corned beef from the supermarket and we ran it through the meat grinder, using a course grind die.

Step two was to lay out a bacon weave to wrap the fatty up. Be sure to make your weave on parchment or butcher paper. It will be much easier to roll, trust me. Once your weave is complete, simply pile your ground corned beef onto the weave and begin to press it out into a big rectangular patty.

Note- This Fatty was created a while ago, when my Bacon Weave game was -shall we say- non-existent. I have since conceded my lack of weaving skills to my wife. She has become the master of weaving the bacon in our house.


You'll notice the "bacon wings" on the left and right. That's my idea to have bacon to cover the sides. If you do a proper bacon weave and leave an inch or so of bacon showing on all sides, you don't need to add the "wings".


Once you've got your meat formed on the bacon, add about 8-10 slices of Swiss cheese and then a pile of Sauerkraut right down the middle of the corned beef. I can't tell you why the picture below doesn't have cheese on it. I'm not sure what I was thinking when I took the photo. Anyway, imagine a layer of Swiss Cheese slices in the photo below.


Now that you have your cheese & Sauerkraut laid out, it's time to wrap. The parchment paper will be a huge help in holding everything together. If you're familiar with making sushi, think bamboo mat. Parchment paper is the bamboo mat of Fatty making.

As I said in the beginning, I cannot weave bacon, so don't judge my mess. Just relish in the fact that it's covered in BACON!


Once you've got the fatty wrapped up tight it's time to cook. Be sure to adjust the bacon so that the entire Fatty is covered and there is no (or very little) corned beef showing.  We cooked ours at about 275F for about 1-2 hours (until the bacon is cooked to your liking). We used just oak on this one, as I wanted a lighter smoke taste (and I didn't feel like running to Lowes for a bag of Hickory chunks).

                                                                      Almost done!

                                                              The finished product

Once it's cooked to your liking, pull it from the heat and let it rest for  10 minutes or so.

We sliced ours into 1 inch slices and served them on grilled Pumpernickel/Rye Swirl bread w/ a stone ground mustard. They were fantastic!


Tuesday, February 13, 2018

Beer Can Burgers


I've said it before, but I'll say it again. I am not the most creative person on  the planet. I have a hard time coming up with "good" ideas -food wise- on my own. Thank the BBQ Gods for Social Media! Between Facebook, Twitter & Instagram I now have an encyclopedia of different recipes to try! 

A while back, one of the big deals on the innerwebs was the "Beer Can Burger". Of course, we had to try it! 

We started out with some 80/20 ground beef. I like lower fat on these burgers because the bacon adds plenty. Make no mistake, these burgers are meant to be over the top! We used about 8 ozs of meat per burger. 

Don't let the name fool you. It's not mandatory to use a beer can. In fact, if you want to be completely correct, ours would be called Coke Can Burgers. 😉

Be sure you wash your can first (and your hands, but you should already know that!) . Then take your meat and form a big meatball. Once you have a nice round globe of meat, grab your can and press it down onto the meatball and begin forming the meat around the can. The idea is to create a vessel where you get to add piles of extra stuff (we'll get to the extra stuff in a minute!)

Once you have a nicely formed meat vessel, wrap each one with two slices of thin bacon. As usual, bacon is the Duct Tape of BBQ - bacon holds it all together. 


Once your burgers are formed, you can begin to think about the extras - the filling. We filled these Beer Can Burgers with sauteed mushrooms & onions, crumbled bacon and shredded cheddar cheese. The beauty of these monsters is you can fill them with anything! I've stuffed a cup of creamy Mac & Cheese in there, a pile of chili, pulled pork, shredded beef, just veggies (GAH!). You're only limited by your imagination. 


Once you've got the burgers filled with your favorite stuffing, add a nice pile of shredded cheese to the top and fire up the smoker!

We smoked these beauties at around 275 for an hour or so. We used Apple wood smoke. 

If you haven't tried a Beer Can Burger yet, be sure to add it to your summertime BBQ menu this year. Your guests will never forget!


Tuesday, February 6, 2018

The Chicken Cordon Bleu Fatty!


While strolling down the memory lane of my Google photos this morning, I came across a handful of photos from a cook we did last summer. A couple of years ago, my buddy Matt turned me on the the Bacon Explosion. This was our first foray into the world of the BBQ Fatty!

Once my wife mastered the art of the bacon weave, we decided we needed to figure out how many different Fatties we could come up with. One of our successes we called the “Chicken Cordon Bleu Fatty”. It goes something like this….


Ingredients

1 lb thin sliced bacon
8-10 boneless skinless chicken breasts
½ lb sliced ham
½ lb sliced Swiss cheese
Salt, pepper, garlic (to taste)

Step 1
First things first...flatten the chicken. Pound them out to about ½ in thick.

Step 2

The magnificent Bacon Weave. Check out our video on making a bacon weave.(coming soon!)


Step 3

Arrange the flattened chicken breasts out on the bacon weave. Make sure to arrange in such a way as to leave some bacon showing on all four sides. This will allow you to seal the roll with bacon when we roll it up. Throw on some SPG, to your taste.


Step 4

On top of the chicken arrange a layer of sliced ham


Step 5

Atop the ham goes a layer of Swiss cheese.


Step 6

The Wrap! This is the tricky part. We normally make our bacon weaves on a piece of parchment paper. It is much easier to roll the fatty when parchment paper is involved. Start with one side of the bacon weave and slowly & steadily start rolling. Like I said above, you’ll want to leave a good inch of bacon showing all the way around so you can seal up the fatty once it’s rolled up. Make sure to arrange the bacon so it covers up the entire roll.


Step 7

On our first one we added a basic rub to the bacon before cooking. Here’s a link to my basic rub recipe. This step is optional.

Step 8

Cook it! We smoked ours on the offset smoker using Oak and Hickory. I kept the temp up around 275-300F until the probe hit an internal temp of 160. My memory is a little fuzzy, but I want to say it took about an hour or so. (Full disclosure – BBQ has taught me to not pay attention to time as much as temp. “It’s done when it’s done” is my motto these days.)

Once you hit 160F internally, pull it from the heat and let it rest for 10 minutes of so. Then slice and enjoy the Chicken Cordon Bleu Fatty!


Sunday, February 4, 2018

Cast Iron Cooking - The Dutch Baby


I’m sitting at my computer desk, looking out the window at my pit covered in snow and ice. It’s February 4th and we’re smack dab in the middle of winters icy grip.Woo hoo! My favorite time of year! (/sarcasm off).

It’s been a rough winter so far. The cold, snow and ice combined with my ailing knees and back has basically shut down Big Ricky’s Smoke Shack until spring. It bums me out when days like today come around -Superbowl Sunday! I should be out there banging out Jalapeno Poppers and a rack of ribs for the big game. But instead, I’m sitting here looking out the window and longing for warm weather so I can get back outside and smoke some meat!

While I haven’t been in the pit for a few months, I have been able to play around with a couple of Cast Iron pans. My beautiful bride presented me with an awesome 10 inch Cast Iron pan for Christmas this past year. Thank you sweetie, I love it!

It’s not BBQ, but I’m really starting to enjoy cooking with CI in the oven and stove. I can’t wait to get some practice on the open fire this summer. 

Last weekend, I saw a photo on Facebook, in a CI group I belong to, for a “Dutch Baby”. If you’re not familiar, a Dutch Baby is basically a big airy pancake. While it can be made in a number of different pans, the CI pans seem to return the best results.

The Dutch Baby is a simple recipe made from eggs, flour, milk, butter,vanilla and sugar -I’ll provide the recipe we followed below.

There are a couple of keys to successful Dutch Baby I found. The first thing is the eggs and milk need to be at least room temperature. I float the eggs in some warm water for 10 minutes or so and microwave the milk for 20-25 seconds. The second key is the pan needs to be hot. A hot Cast Iron dutch oven or frying pan will give you a super nice crunchy and browned outside.

The Dutch Baby is cooked at a temp of 425 F for about 25 minutes. It will blow up like a pillow, but DO NOT OPEN THE OVEN DOOR! It’s going to collapse once you pull it from the oven – peeking early will collapse it early...DON’T DO THAT!

There’s a variety of ways to serve a Dutch Baby. Many people will add apples, berries or other fruits. Some, like me and the missus, prefer Maple Syrup, while some just like a sprinkle of powdered sugar or cinnamon sugar.

If you asked me to describe a Dutch Baby, i’d have to say it’s like a popover, a waffle and a piece of French Toast all rolled into a delicious, light and airy treat that’ll make a great addition to your weekend breakfast or brunch (or dinner, if you fancy breakfast for dinner!)

Here’s a simple recipie for Dutch Baby. We used a 10 inch CI pan.

Ingredients

3 Eggs
½ cup AP Flour
½ cup Milk (we used 2%)
1 TBSP Sugar
Pinch of Nutmeg
2 tsp Vanilla extract
4 TBSP Butter

Syrup, preserves, confectionery sugar, Nutella, your favorite topping


Step 1
Put your pan in the oven and preheat your oven to 425

Step 2
Combine eggs, flour, milk, sugar and nutmeg in a blender jar and blend until smooth. Batter may also be mixed by hand.

Step 3
Place butter in a heavy 10-inch skillet or baking dish and place in the oven. As soon as the butter has melted (watch it so it does not burn) add the batter to the pan, return pan to the oven and bake for 20 minutes, until the pancake is puffed and golden. Lower oven temperature to 300 degrees and bake five minutes longer.

Step 4
Remove pancake from oven, cut into wedges and serve at once topped with syrup, preserves, confectioners' sugar or cinnamon sugar.